
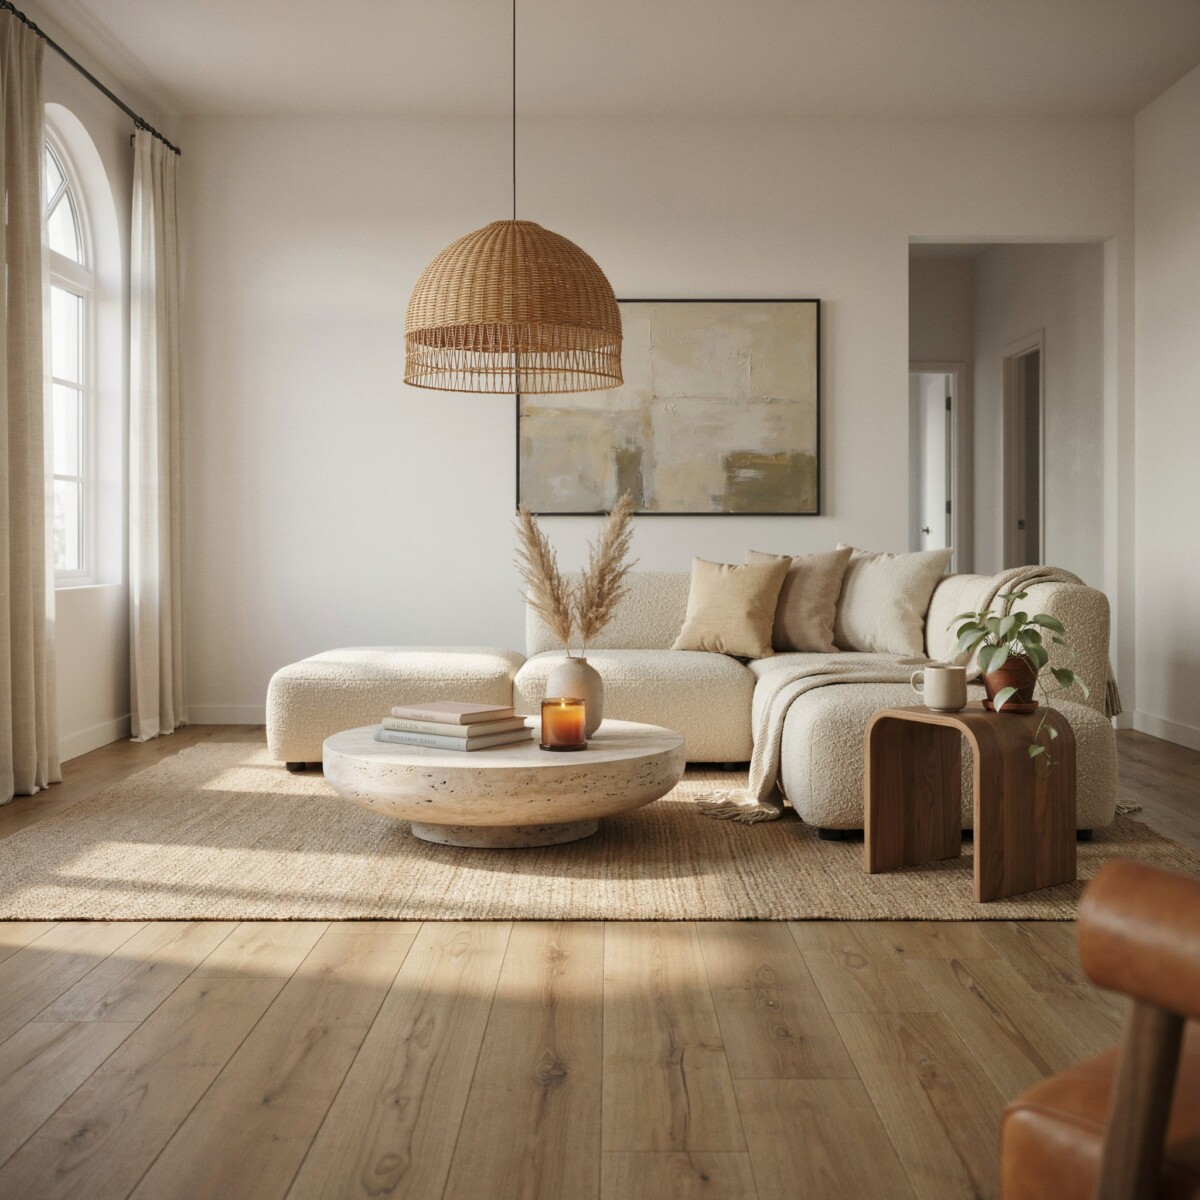
You bought the sofa. You picked the curtains. You even found a rug that tied the whole thing together. And yet the room still feels… off. Maybe the furniture looks too big, the lighting feels flat, or everything seems to float without any real connection. Sound familiar?
Here’s the truth: most rooms don’t fail because of bad taste. They fail because of a missing plan. Professional designers don’t walk into a space and start shopping. They follow a structured interior design process that considers function, scale, light, and flow before a single piece is purchased.
The good news? That process isn’t a secret. In this guide, you’ll learn exactly how to design a room like an interior designer—step by step, using the same room design steps pros rely on every day. Whether you’re refreshing a living room in a suburban house, styling a small apartment bedroom, or setting up a home office in a townhome spare room, this method works for any space and any budget.
Grab a tape measure and a notebook. Let’s build your room the right way.
Step 1: Define the Room’s Purpose and Users
Every professional interior design process starts with one question: What actually happens in this room? Not what you wish would happen. What really happens.
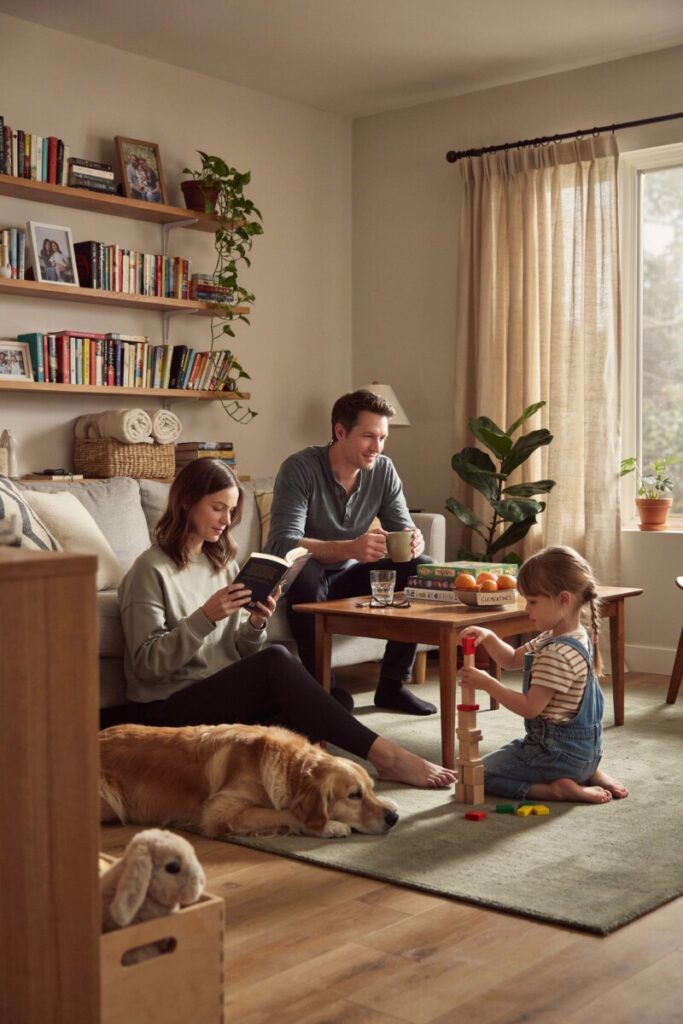
Before you think about paint colors or furniture styles, sit down and list the room’s main activities. Is it for relaxing, entertaining guests, working from home, sleeping, or some combination? Then identify who uses the space—adults, kids, pets, overnight guests—and how often.
Ask yourself these questions:
- What do we actually do here on a normal Tuesday evening?
- What frustrates us about the current setup?
- How many people need to sit, sleep, or work here at once?
- Do we need storage, display space, or both?
For example, a “generic living room” might really be a family hangout where two adults and a toddler watch TV, plus an occasional guest space for holiday gatherings. That changes everything: you need durable fabrics, a section that seats five, a safe coffee table, and maybe a pull-out sleeper function.
This is how designers plan a room. Function first, aesthetics second. Once you know the “why,” every decision that follows becomes easier and more intentional.
Step 2: Measure the Space and Create a Simple Floor Plan
Designers never buy furniture before measuring. Not once. Space planning in interior design starts with accurate dimensions, and skipping this step is the number one reason DIY projects go sideways.
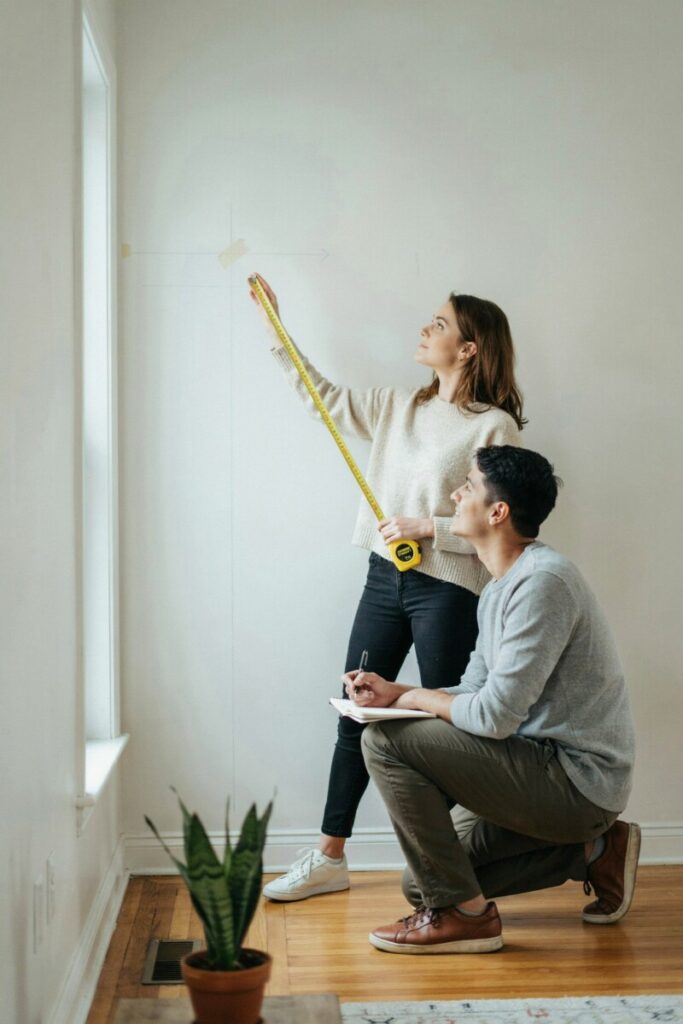
Here’s what to measure:
- All wall lengths and ceiling height (most US homes have 8- or 9-foot ceilings)
- Window and door locations, including frame widths and heights
- Door swing directions
- Outlet, switch, and radiator/vent positions
- Any built-ins, columns, or awkward alcoves
- Direction of natural light (note which walls face north, south, east, west)
Sketch your floor plan on graph paper—one square equals one foot—or use a free app like RoomSketcher, Magicplan, or IKEA’s room planner. Mark the main walking paths and note where natural light enters throughout the day.
Measurements Checklist Before Designing a Room:
- [ ] Length and width of the room
- [ ] Ceiling height
- [ ] Window width, height, and distance from floor
- [ ] Door width and swing direction
- [ ] Outlet and switch locations
- [ ] Radiator, vent, or built-in dimensions
- [ ] Existing furniture you plan to keep (width, depth, height)
Why does this matter? Because a 96-inch sofa looks completely different in a 12×14-foot living room than in a 10×12-foot one. Measuring prevents the classic mistakes: a bed blocking the closet, a dining table with no chair clearance, or a rug that looks like a postage stamp.
Step 3: Choose a Focal Point and Plan the Layout
Every well-designed room has one dominant visual anchor. Choosing a focal point in a room gives your eye somewhere to land and gives your furniture a reason to exist in a particular arrangement.
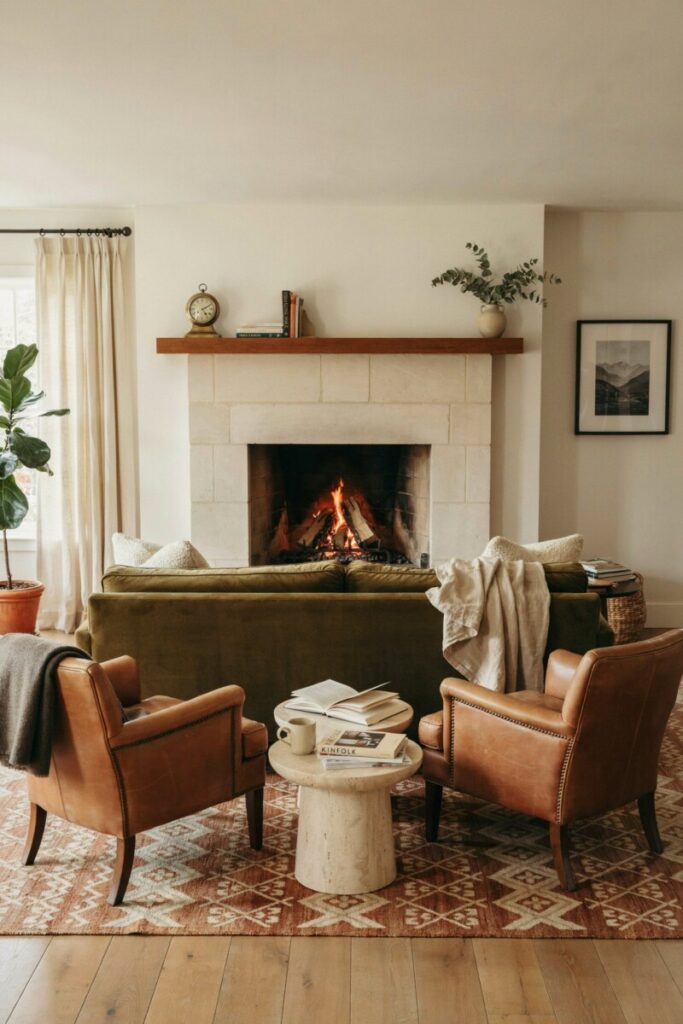
Common focal points include a fireplace, a large window with a view, a TV wall, a bed’s headboard wall, or a statement piece of art. If your room lacks an obvious one, create it—a bold paint color on one wall, a large mirror, or a gallery arrangement can do the job.
Once you’ve identified your anchor, follow these furniture layout tips:
- Place the largest piece first. In a living room, that’s the sofa. In a bedroom, the bed. In a dining room, the table.
- Arrange seating to face or complement the focal point. Chairs and sofas should orient toward the anchor, not away from it.
- Protect traffic flow. Main walkways need at least 30–36 inches of clearance. Nobody should have to shimmy sideways between the couch and the wall.
- Keep conversation distance tight. In living rooms, seats should be no more than 8 feet apart so people can talk without raising their voices.
Room-specific layout examples:
- Living room: Create a sofa + rug + coffee table triangle. The rug anchors the grouping, and the coffee table sits 18–24 inches from the sofa edge.
- Bedroom: Center the bed on the main wall opposite the door. Flank with nightstands. Leave a clear 30-inch path to the closet.
- Dining room: Center the table in the room with at least 36 inches of clearance on all sides so chairs can slide out and people can walk behind.
Getting the furniture placement rules right at this stage saves you from rearranging heavy pieces later.
Step 4: Set a Realistic Budget and Prioritize Spending
Interior design budget planning isn’t about spending the least—it’s about spending strategically. Designers allocate money where it impacts daily comfort and durability most.
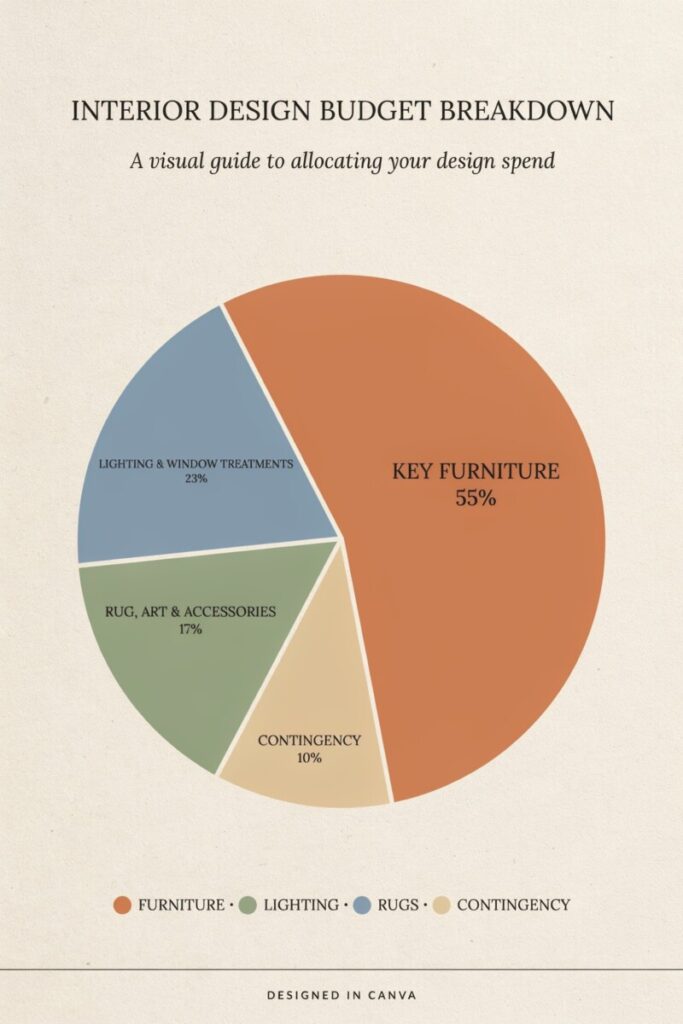
Start with a total number you’re comfortable with, then split it:
- 50–60% on key furniture (sofa, bed frame and mattress, dining table)
- 20–25% on lighting and window treatments
- 15–20% on rug, art, and accessories
- 10% contingency for delivery fees, returns, or last-minute changes
Spend more where your body touches the piece (mattress, sofa cushions, desk chair) and save on decorative items, side tables, and lamps. A $200 thrifted side table next to a $1,800 sofa looks intentional if the proportions and finish coordinate.
Affordable interior design tips for US shoppers: time purchases around holiday sales (Memorial Day, Labor Day, Black Friday), check outlet sections at Crate & Barrel, West Elm, or Pottery Barn, browse Facebook Marketplace and estate sales, and don’t overlook big-box stores like Target or Wayfair for trend-driven accessories.
Step 5: Build a Color Palette and Mood Board
Before you buy a single pillow, lock in your interior design color palette. This is the step most DIYers skip, and it’s the reason so many rooms end up looking like a collection of random purchases.
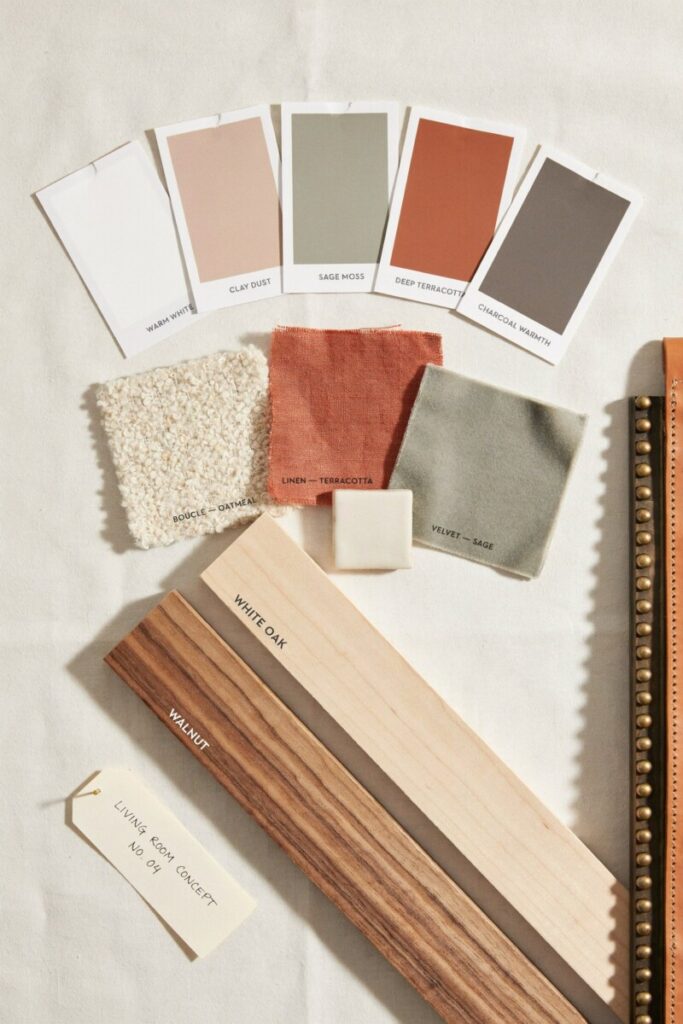
Start by considering three things:
- Natural light. North-facing rooms get cool, blue-toned light—warm up with creamy whites, warm grays, or soft terracotta. South-facing rooms get warm, golden light and can handle cooler blues and greens.
- Fixed elements. Your flooring, cabinets, countertops, and trim are already chosen. Your palette needs to work with them, not fight them.
- Desired mood. Calm and restful? Lean into soft neutrals and muted blues. Energetic and social? Consider richer tones or higher contrast.
Then apply the 60-30-10 color rule:
- 60% dominant color (walls, large upholstery, rug)
- 30% secondary color (accent chair, curtains, bedding)
- 10% accent color (throw pillows, artwork, small decor)
Next, build a mood board for interior design. Collect 10–15 images of rooms you love, pull paint swatches, screenshot furniture listings, and gather fabric samples. Use Canva, a Pinterest board, or even your phone’s photo album. Then edit ruthlessly—remove anything that doesn’t fit the palette or style direction.
Three palettes that work beautifully in US homes right now (2025–2026):
- Warm neutrals (creamy whites, oatmeal, camel) + matte black accents + natural wood
- Soft blues + light gray + white oak tones
- Greige (gray-beige) walls + navy textiles + brass hardware
These align with current US interior design trends favoring layered textures, mixed metals, and warm minimalism.
Step 6: Select Furniture with Correct Scale and Proportion
Scale and proportion in interior design are what separate a room that feels “designed” from one that feels “furnished.” The wrong-size sofa in a small room makes everything feel cramped; a too-small table in a large room makes the space feel empty.
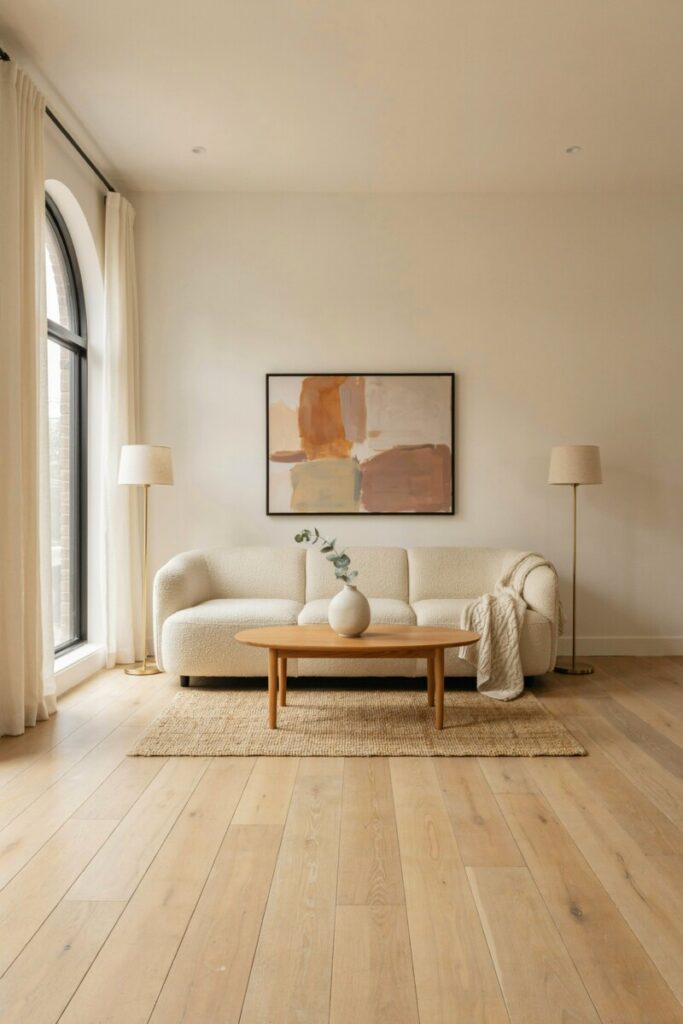
Key rules of thumb for typical US room dimensions:
- Leave 18–24 inches between the coffee table and sofa edge.
- Your rug should be large enough that at least the front legs of all seating rest on it. In a living room, that usually means an 8×10 or 9×12 rug. In a bedroom, aim for a rug that extends 18–24 inches beyond each side of the bed.
- Nightstands should be roughly level with the mattress top (within an inch or two).
- Dining chairs need 24–30 inches of width per person and 36 inches of clearance around the table for walkways.
- In a 12×14-foot living room, an 84- to 96-inch sofa works well. In a 10×10 room, scale down to 72 inches or choose an apartment-sized model.
Avoid pushing all furniture against the walls. Pull pieces toward the center to create intimate conversation zones, even in small rooms. Interior design for small rooms benefits from leggy furniture (visible floor underneath), multifunctional pieces (storage ottomans, nesting tables), and lighter color palettes.
When mixing furniture styles, keep one unifying element—similar wood tone, matching metal finish, or consistent leg style—so a modern sofa and a vintage wood credenza feel intentional, not chaotic.
Step 7: Layer Lighting Like a Pro
If your room has only one overhead light, it will feel flat no matter how beautiful the furniture is. Designers use three lighting layers: ambient, task, and accent.
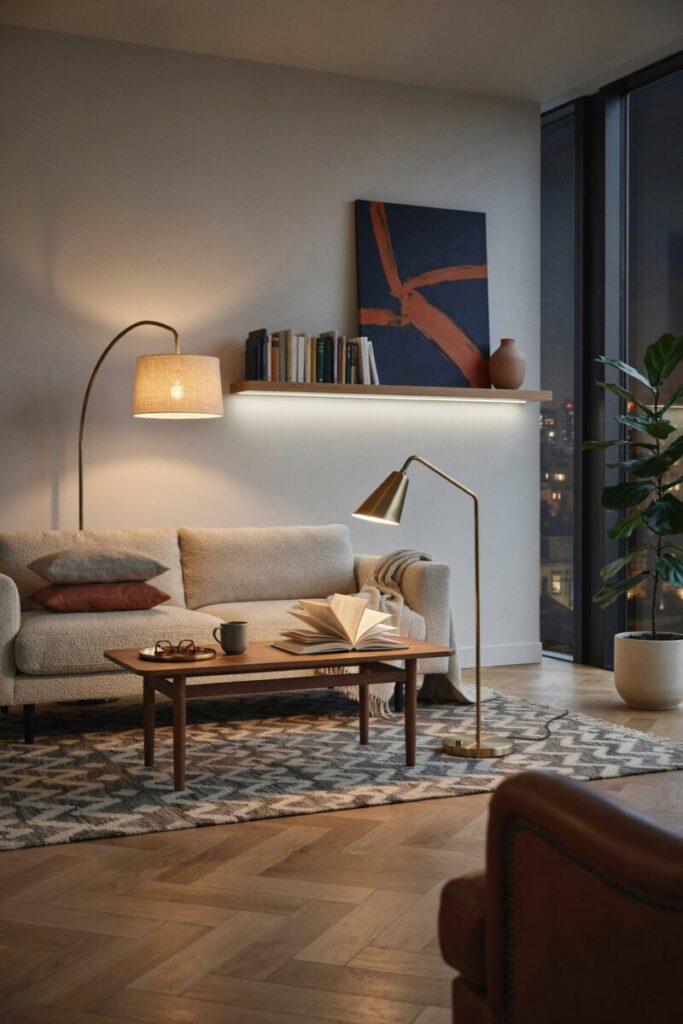
- Ambient lighting provides overall illumination: ceiling fixtures, recessed cans, or a central pendant. This is your base layer.
- Task lighting serves a specific function: a reading lamp beside an armchair, under-cabinet lights in a kitchen, a desk lamp in a home office.
- Accent lighting adds drama and warmth: wall sconces, picture lights over art, LED strips behind a media console, or a decorative table lamp on a shelf.
Aim for 3–5 light sources per room, spread across different heights and corners. This eliminates dark pockets and creates visual depth.
Bulb guidance for US buyers: Choose 2700K–3000K bulbs for living rooms and bedrooms (warm, cozy glow). Use 3000K–3500K for kitchens, bathrooms, and home offices where you need slightly brighter, more focused light.
Quick lighting plan example – Living room: One ceiling fixture (ambient) + one floor lamp beside the sofa (task/reading) + one table lamp on a side table (accent) + optional picture light over artwork.
Lighting Checklist:
- [ ] At least one ambient source
- [ ] Task light where reading, cooking, or working happens
- [ ] One accent light for visual interest
- [ ] Dimmer switches where possible
- [ ] Bulbs matched to the room’s function (warm vs. cool)
Step 8: Add Textiles, Window Treatments, and Soft Furnishings
This is where a room goes from “showroom” to “home.” Texture and pattern in interior design add warmth, soften acoustics, and give the eye places to rest.
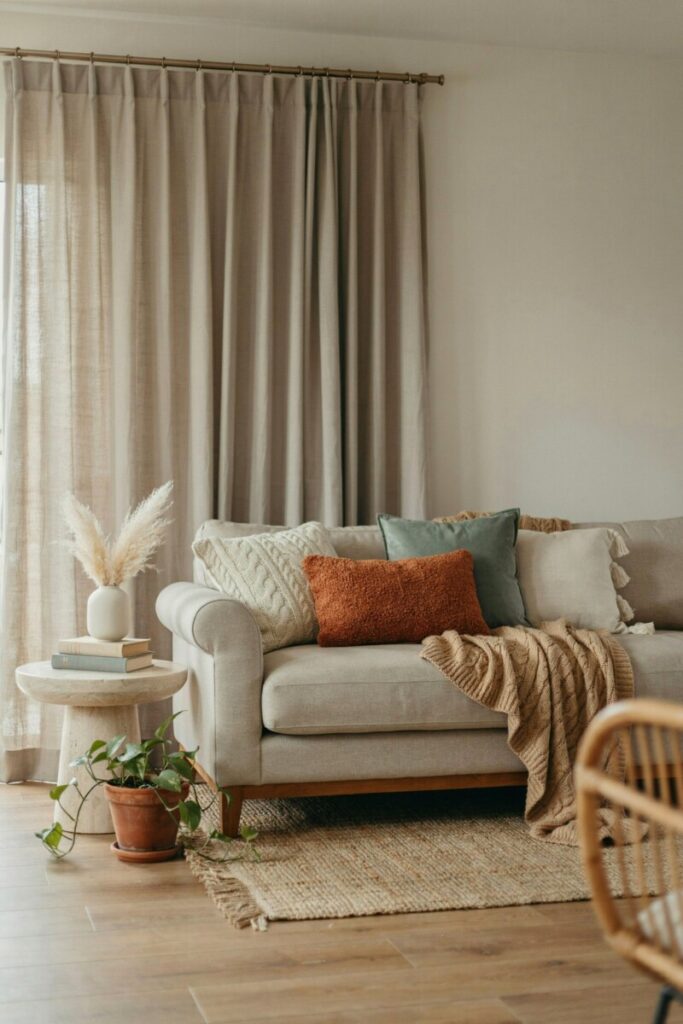
Curtains and drapes: Hang the rod 4–6 inches above the window frame and extend it 6–10 inches beyond each side. This makes windows look larger and lets in maximum light when panels are open. For a polished look, choose floor-length panels that just kiss the floor or pool slightly. In bedrooms, blackout or room-darkening liners improve sleep.
Rugs: Follow the sizing guidance from Step 6. In a dining room, the rug should extend at least 24 inches beyond the table on all sides so chairs stay on it when pulled out.
Pillows and throws: Use an odd number of pillows (3 or 5) in varying sizes. Mix textures—linen, velvet, chunky knit—within your color palette. Drape one throw over the arm of a sofa or the foot of a bed. These soft furnishings make a space feel lived-in and inviting.
Step 9: Hang Art and Style Accessories the Designer Way
Learning how to hang art like a designer instantly elevates a room. The golden rule: the center of the artwork should sit at 57–60 inches from the floor. This aligns with average eye level.
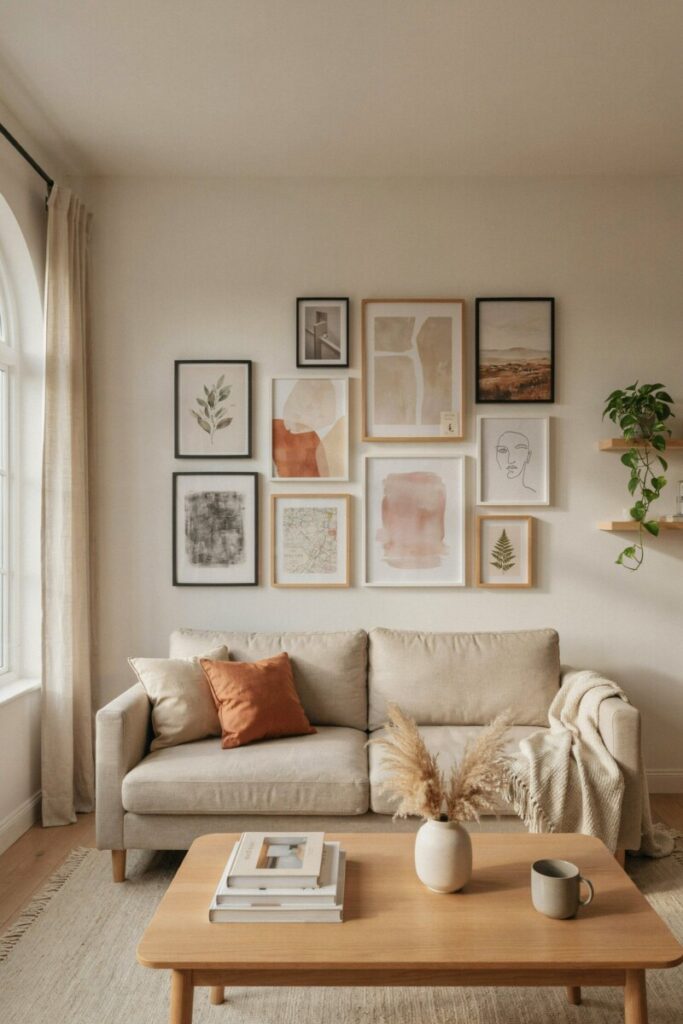
When hanging art above furniture, the piece should be roughly two-thirds the width of the sofa or headboard beneath it. Leave 6–8 inches of space between the furniture and the bottom of the frame.
For a gallery wall, lay your arrangement on the floor first. Keep spacing consistent (2–3 inches between frames), mix frame styles sparingly, and include at least one non-frame element (a small mirror, a textile, or a sculptural object) for interest.
Accessory styling rules:
- Group objects in odd numbers (3 or 5).
- Vary heights—a tall vase, a medium stack of books, a small candle.
- Mix materials: ceramic, wood, metal, glass.
- Edit ruthlessly. If an item doesn’t connect to the room’s palette, story, or function, remove it.
Personal items like travel souvenirs or family photos absolutely belong in the room—just curate them. Display three favorite photos in matching frames rather than scattering twelve mismatched ones.
Step 10: Do a Final Walk-Through and Edit
The last step in the professional interior design process is the one most people skip: the edit.
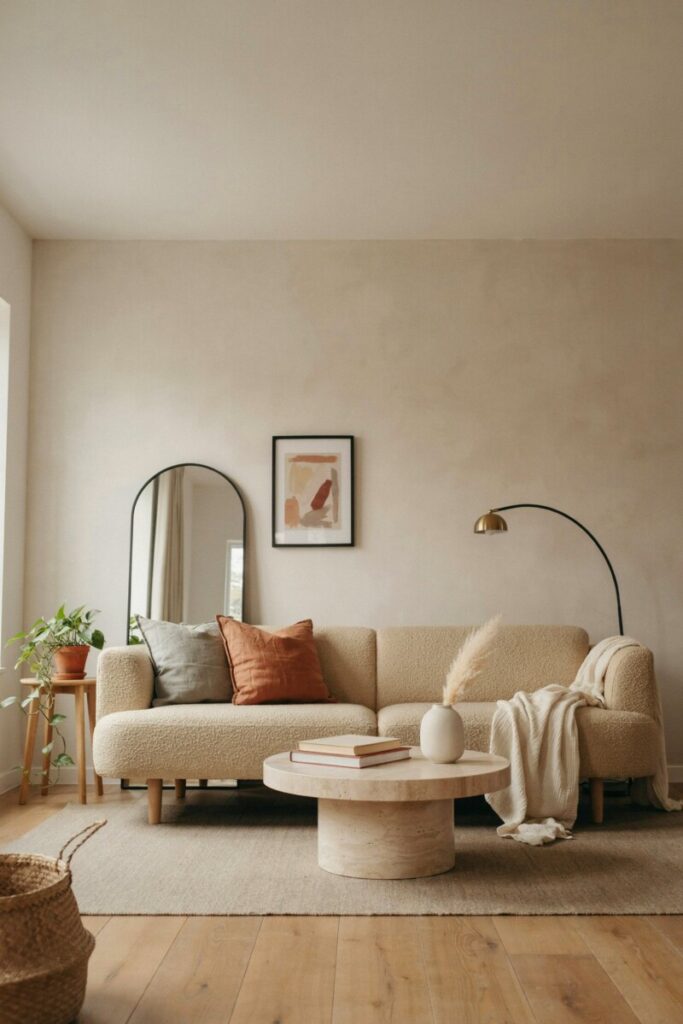
Walk through the room as if you’re seeing it for the first time. Sit on every seat. Open every drawer. Turn on all the lights at once, then off one by one. Check for glare on your TV or computer screen. Make sure you can reach light switches without stepping over furniture. Test the traffic flow—walk the paths you’ll take fifty times a day.
Then ask:
- Does anything feel awkward, cramped, or unused?
- Is there too much visual noise, or does the room feel sparse?
- Does the space match the intention I set in Step 1?
Apply the “remove three things” rule. Look around and take out three items. Nearly every room improves when you subtract a little.
Finally, live with the room for a week before making final tweaks. You’ll notice what works and what doesn’t once you’re using the space daily. This is the last of the essential room design steps, and it’s the one that turns a good room into a great one.
Final Edit Checklist:
- [ ] All walkways clear (30–36 inches minimum)
- [ ] Every light source functional and well-placed
- [ ] Art hung at correct height
- [ ] Rug sized properly for furniture grouping
- [ ] No “orphan” items that don’t match the palette
- [ ] Room fulfills the purpose defined in Step 1
Room-Specific Mini Guides
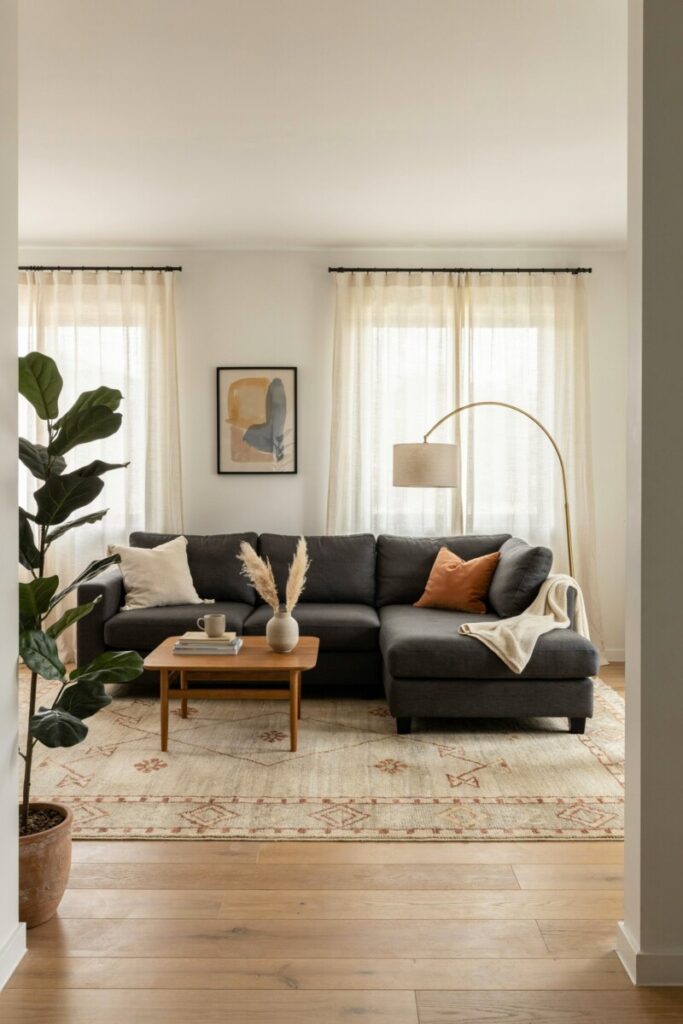
Living Room Design Ideas
Anchor seating around your focal point (fireplace, TV, or window). Use an 8×10 or 9×12 rug to define the conversation area. Layer at least three light sources at different heights. Keep 18–24 inches between the sofa and coffee table. Add one large-scale art piece rather than several small ones for a cleaner look.
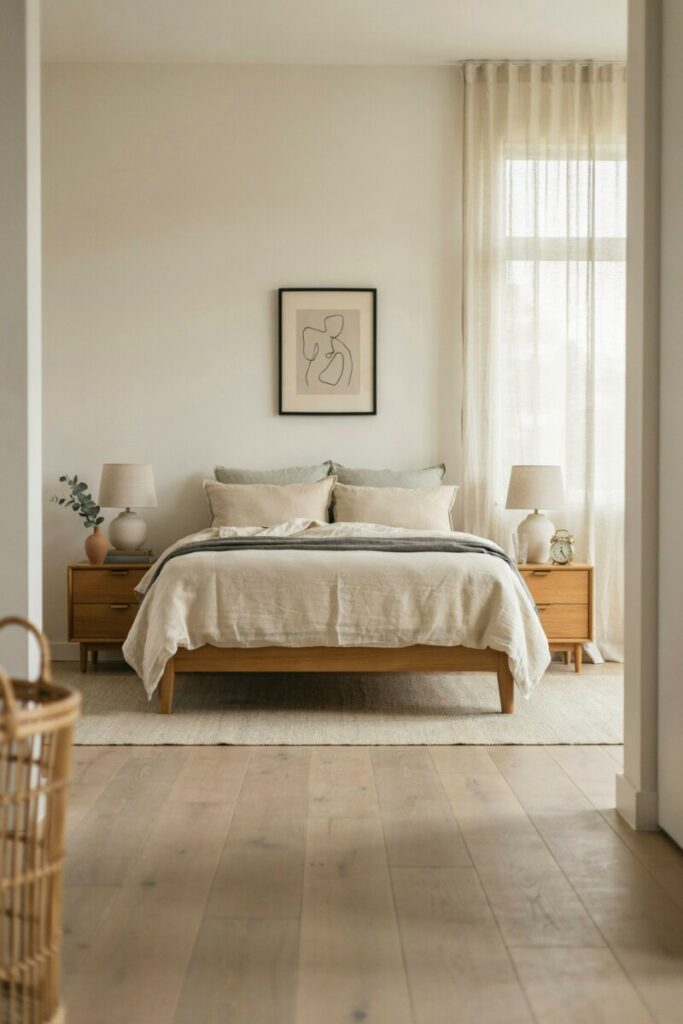
Bedroom Design Tips
Center the bed on the wall you see first from the doorway. Match nightstand height to the mattress top. Choose a calming palette—soft blues, warm whites, muted greens. Invest in blackout curtains and a quality mattress. Keep surfaces clear; a bedroom should feel restful, not cluttered.
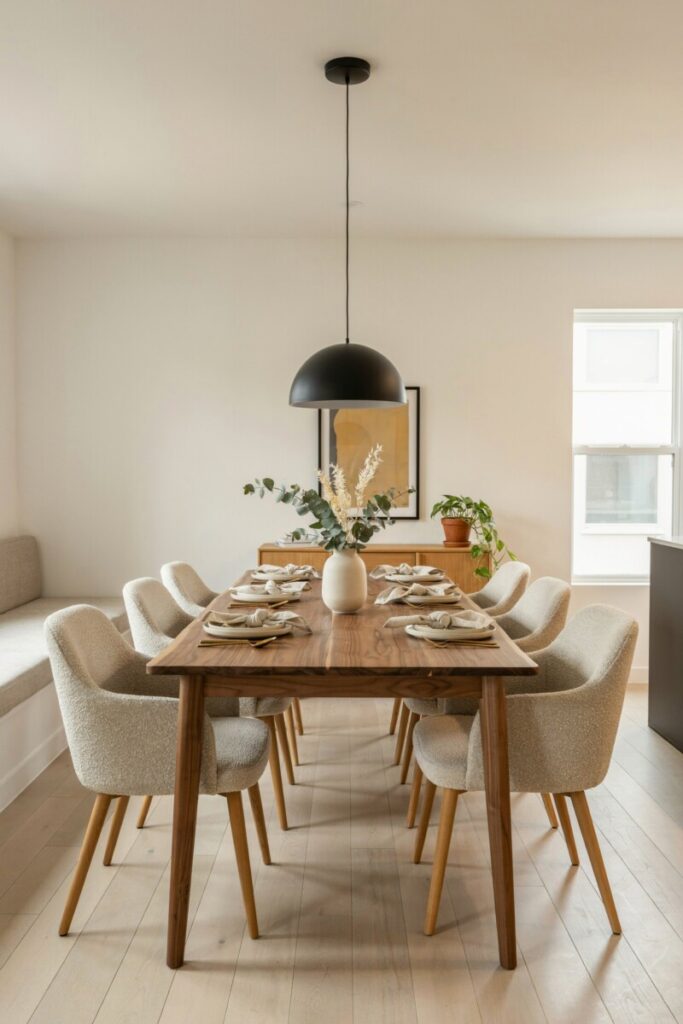
Dining Room Layout Ideas
Size your table to the room: leave 36 inches of clearance on all sides. Center a pendant or chandelier 30–36 inches above the tabletop. Add a sideboard or credenza for linens and dish storage. If space is tight, a round table improves traffic flow in square rooms.
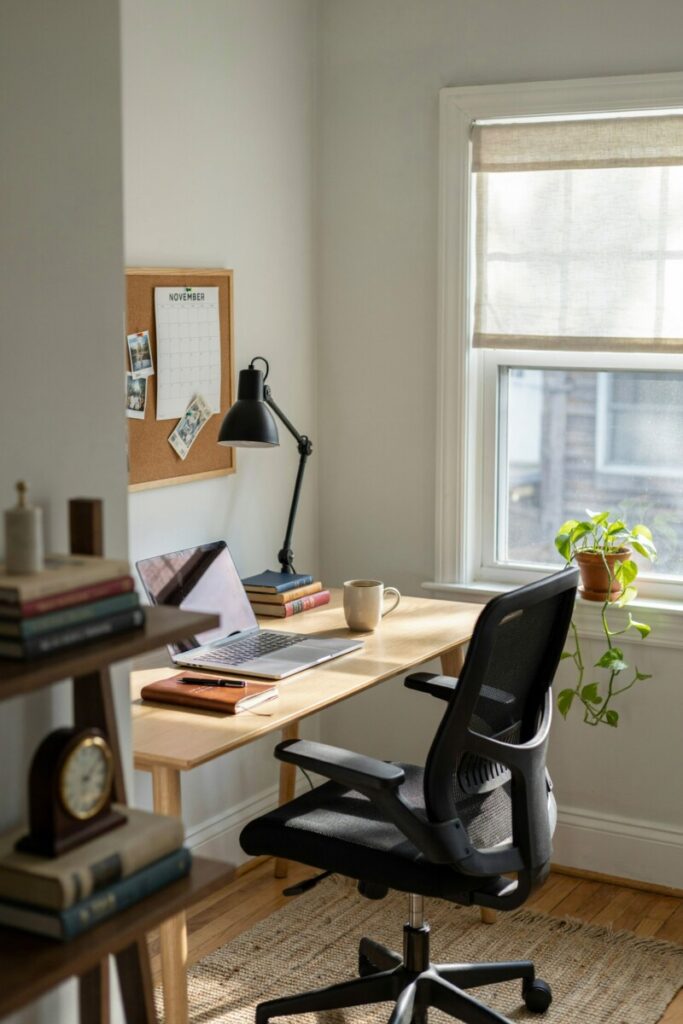
Home Office Design Tips
Position your desk perpendicular to the window to reduce screen glare. Invest in an ergonomic chair—you’ll sit for hours. Add a dedicated task lamp for evening work. Manage cables with clips or a cable tray under the desk. Include one personal item (a plant, a photo) to keep the space from feeling sterile.
Common Mistakes to Avoid
Even with the best intentions, DIY decorators trip over the same furniture placement rules again and again. Here’s what to watch for:
- Buying before measuring. A sofa that looked perfect in the showroom can overwhelm a 10×12 room. Always measure first.
- Choosing a rug that’s too small. A tiny rug makes furniture look disconnected and the room feel smaller. Go bigger than you think you need.
- Hanging art too high. If you have to tilt your head back to see it, it’s too high. Aim for that 57–60-inch center mark.
- Relying on one overhead light. This flattens the room and creates harsh shadows. Layer your lighting.
- Ignoring storage. Beautiful rooms still need a place for remotes, blankets, and mail. Build in baskets, ottomans with storage, or a console with drawers.
- Copying a Pinterest room without adapting it. That Scandinavian loft has 14-foot ceilings and no TV. Your 8-foot-ceiling suburban living room needs different solutions. Use inspiration as a starting point, not a blueprint.
These affordable interior design tips save you from expensive do-overs and help you get the professional result on the first try.
Conclusion
You don’t need a design degree or a five-figure budget to create a room that looks intentional, feels comfortable, and reflects your life. You need a process. By following these ten room design steps—defining purpose, measuring, planning layout, budgeting, choosing color, selecting correctly scaled furniture, layering light, adding textiles, styling accessories, and editing—you now know exactly how to design a room like an interior designer.
Start with one room. Work through the checklist. Take your time between steps. The result will be a space that feels considered, cohesive, and unmistakably yours.
Save this guide, share it with a friend who’s staring at an empty room wondering where to begin, and use it as your reference the next time you’re ready to refresh a space. You’ve got the process. Now go make it beautiful.
